Thursday, July 10, 2014

Days of Pinterest Past

Melissa and I had our latest Pinterest Day and she asked me why I hadn't blogged our projects for awhile.  Well....I don't know!  I haven't taken pictures of all of them.  Sadly...I can't even remember all of them.  I guess that's why I need to blog them.  Since last posting, we've done a lot.  We generally have some failures and some successes.  Here are a few:
  • We met to work on our Christmas projects.  I tried to do a crocheted scarf and paper pinwheels.  Fail.  I can't remember what Melissa worked on.  Emily joined us and did some embroidery.
  • We made some fudge and some orange creamsicle truffles.  YUMMMMMMMMM.  Success!  The hard part was not eating it before we gave them to friends.
Melissa does tax work and is unavailable to me until April 15th.  So I had to do Pinterest alone.  I had some leftover candy melts from Christmas.  First, I melted three different flavors of candy melts from Michaels and grabbed a sleeve of Ritz crackers.

Then, I dropped "blobs" of the melts on a cookie sheet covered with parchment paper and put a cracker on each blob.

Once those dried, I peeled them off and this is what they looked like...

Next, I laid the crackers out and put a small scoop of vanilla ice cream on top of  half of them.

Then, I put the lid on, and they were ready to eat!  I wrapped them in plastic wrap and put them in the freezer, where they did not stay for very long!  Quite tasty.  I highly recommend this project.

By the end of April, with Melissa BEGGING for a Pinterest Day--free at last!--we did beading...

Don't you just love beads?  They look so pretty in their boxes....

Here's what we made:

In May, I made a maxi skirt and Mel worked on a pillow.  No photos, please.  My large booty wouldn't have it.

In June, we did watercolors.  For the first time ever.  We had FUN. I'd had a box of watercolor paper greeting cards for a long time.  Years.  It was time to bring them out.

We used fairly cheap watercolors and brushes...


But, watch out!  If you use the cheap brushes, you must be sure to have a pair of tweezers with you to remove the stray hairs that end up in your masterpiece.

Here are some of our creations.


July's Pinterest Day will be aprons made out of dishcloths.  I'll be sure to take pictures!

Saturday, June 28, 2014

It's About Time

Last September 14th, in remembrance of the one-year anniversary of Jackson moving on to the other side of the veil, we held a Garden Dedication.  I suppose it is time for me to finally post the outcome of our hard work!  We call it Jackson's Garden.  At the event, the yard was still pretty bare, all dirt, but we had a great gathering of our friends and loved ones.  When we began working in the Spring of 2013, it was a mess.  If you don't believe me, click here.  We worked hard all summer.  This time last year, we were still plugging away, clearing away grapevine, digging, laying down weed barriers and using every possible ounce of our strength and time to finish by September 14th.  This is what it looked like that day, with everyone having a good time. 


You can scroll down for earlier blog posts about fighting with the yard and see that the back corner, which used to be a grapevine, is now a nice fire pit area.  We planted a vegetable garden in planter boxes my dad built.  


Who would have thought that our little "jungle" could become a place where we could enjoy our family and friends?  Jackson did!  I never go outside without thinking about how happy he'd be here.  At the dedication ceremony, I read a little quote from Brigham Young:  "Build cities, adorn your habitations, make gardens, orchards, and vineyards, and render the earth so pleasant that when you look upon your labors you may do so with pleasure, and that angels may delight to come and visit your beautiful locations."   

My cousin Donald made a sign for the garden.

Around him, you can see some of the plants that people brought.  We are doing our best to take care of them!  We have become much more of an outdoor family, and this is in direct relationship to Jackson's desire to create a space where we could do just that.  

Friends not only brought plants, but other things for the yard....


My friend, Melissa, created a backdrop of streamers and took pictures of many of our guests.  We were especially pleased that some of Jackson's friends could be there.  Here are just a few:

Pat, Michelle and Sara
Sara, Ina, Betty, Suzan and Emily

Richard and Amy Bernard

Tom and Kathy LaBerteaux

Jakob and Lacey Bredsguard and Crew
Libby, Suzan, Nickie, Melissa and Linda
Luis and Karina Corona
Rachelle, Ben and Vanya

Elijah, Tess and Free

Jack and Suzan
I wish I could put everyone in!  It was a happy, sad, emotional, support-filled evening.  I don't know if we'll ever do anything like this again.  It was the right thing to do that day--surrounding ourselves with loved ones so we didn't have to face it alone.  

I am planning to take some pictures as the garden looks today.  I will post them soon.

Saturday, October 5, 2013

Concrete Orbs


August/September Pinterest days involved the creation of concrete orbs.  We were just dying to do something with concrete.  We'd seen a few pins about these orbs and wanted to make some for Jackson's Garden (Jackson's Garden post will be added soon). So.....we had to do a little research.  We had two options.  We could use either a glass globe that you put over a light bulb in a light fixture (think '70s) and then break it off when it dried, OR we could use a rubber ball.  We chose rubber balls.

First, we had to collect our supplies. I called and ordered 5 bags of quikrete from Home Depot and had Melissa's husband, Ken, pick them up for me.  He thought we must be building a castle.

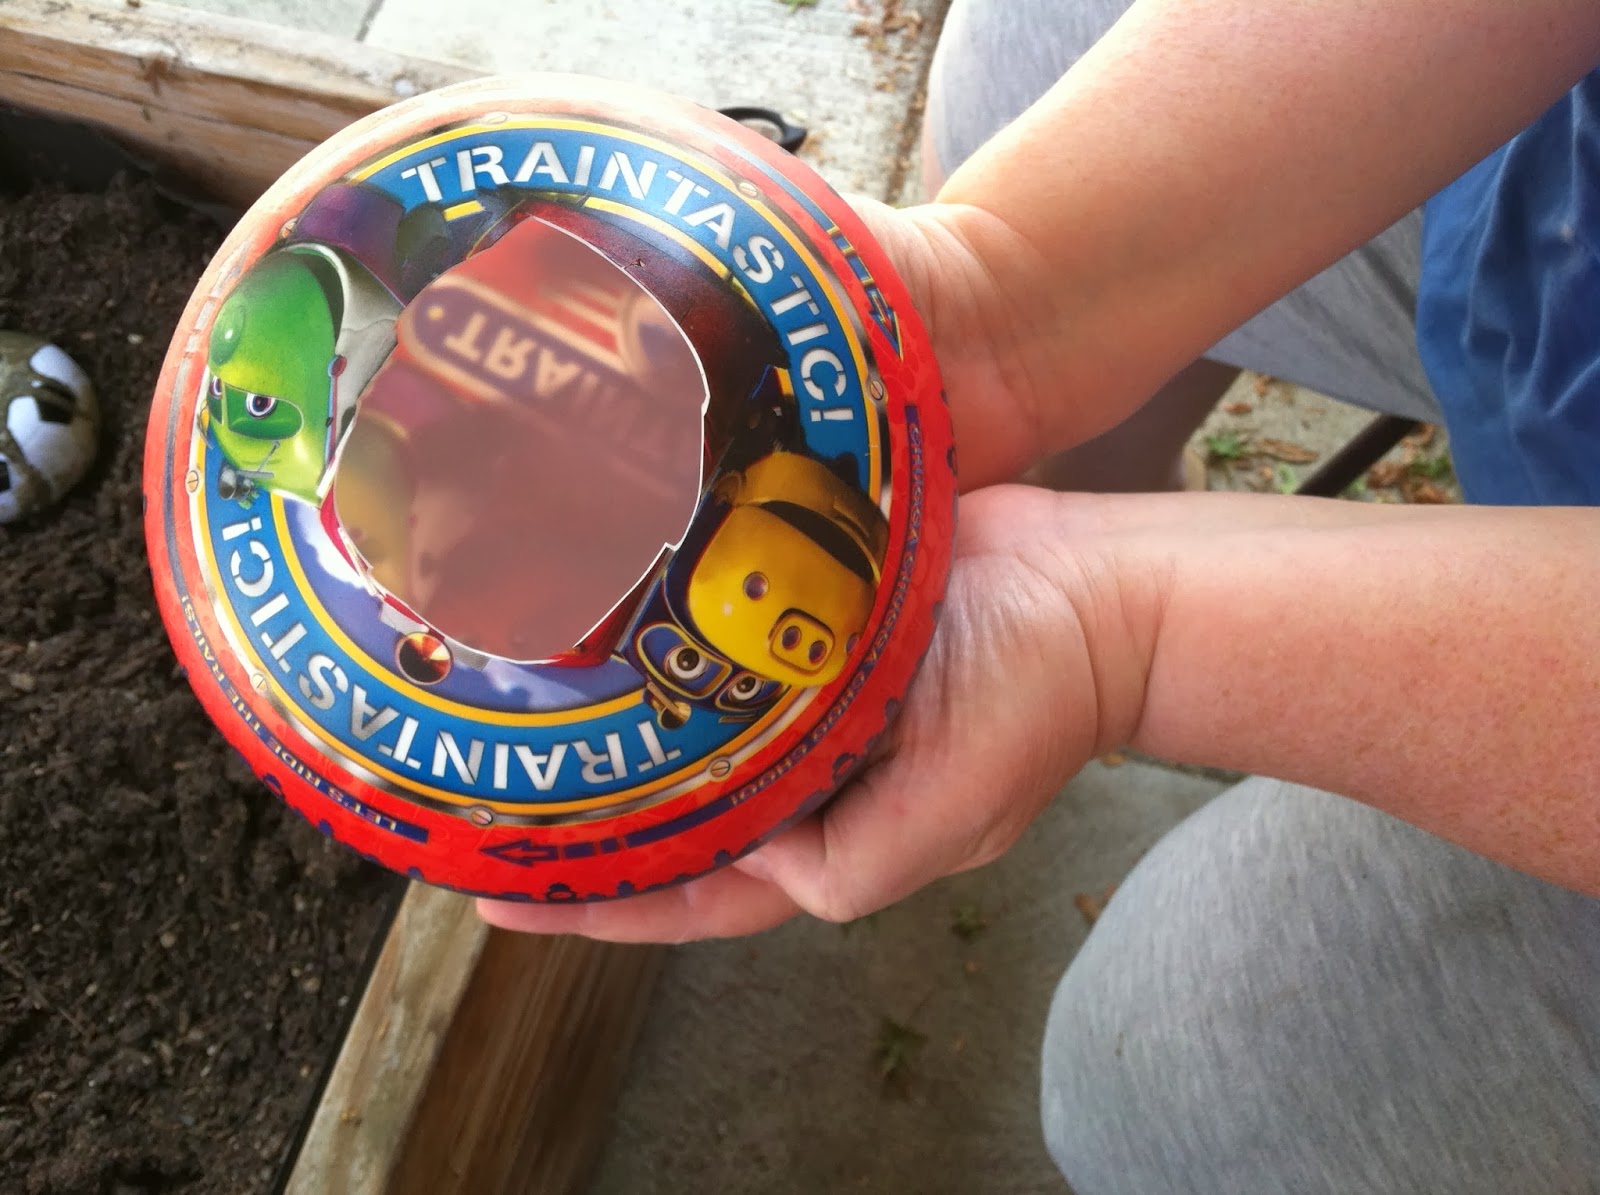
Then I bought a bunch of bouncy balls, at cheap places, like the 99cent store.  Melissa had a rolling planter box with potting soil in it that we fluffed up to place the balls in once they were filled.  We were supposed to use sand, but we figured this would do.  We had to cut off the tops of the balls and fill them with quikrete.
Here they are, nestled all snug in their beds.
We discovered that making the concrete on the watery side worked best.  The first one was not very good--just like packing rocks in.  We used a big plastic spoon to fill them.   We shook them occasionally so the air would come out.

We started with the smallest, working up to the bigger play balls.  We pierced them near their little plastic fill plug with scissors.  When we got to the big boy, above, UH-OH!!!!!!
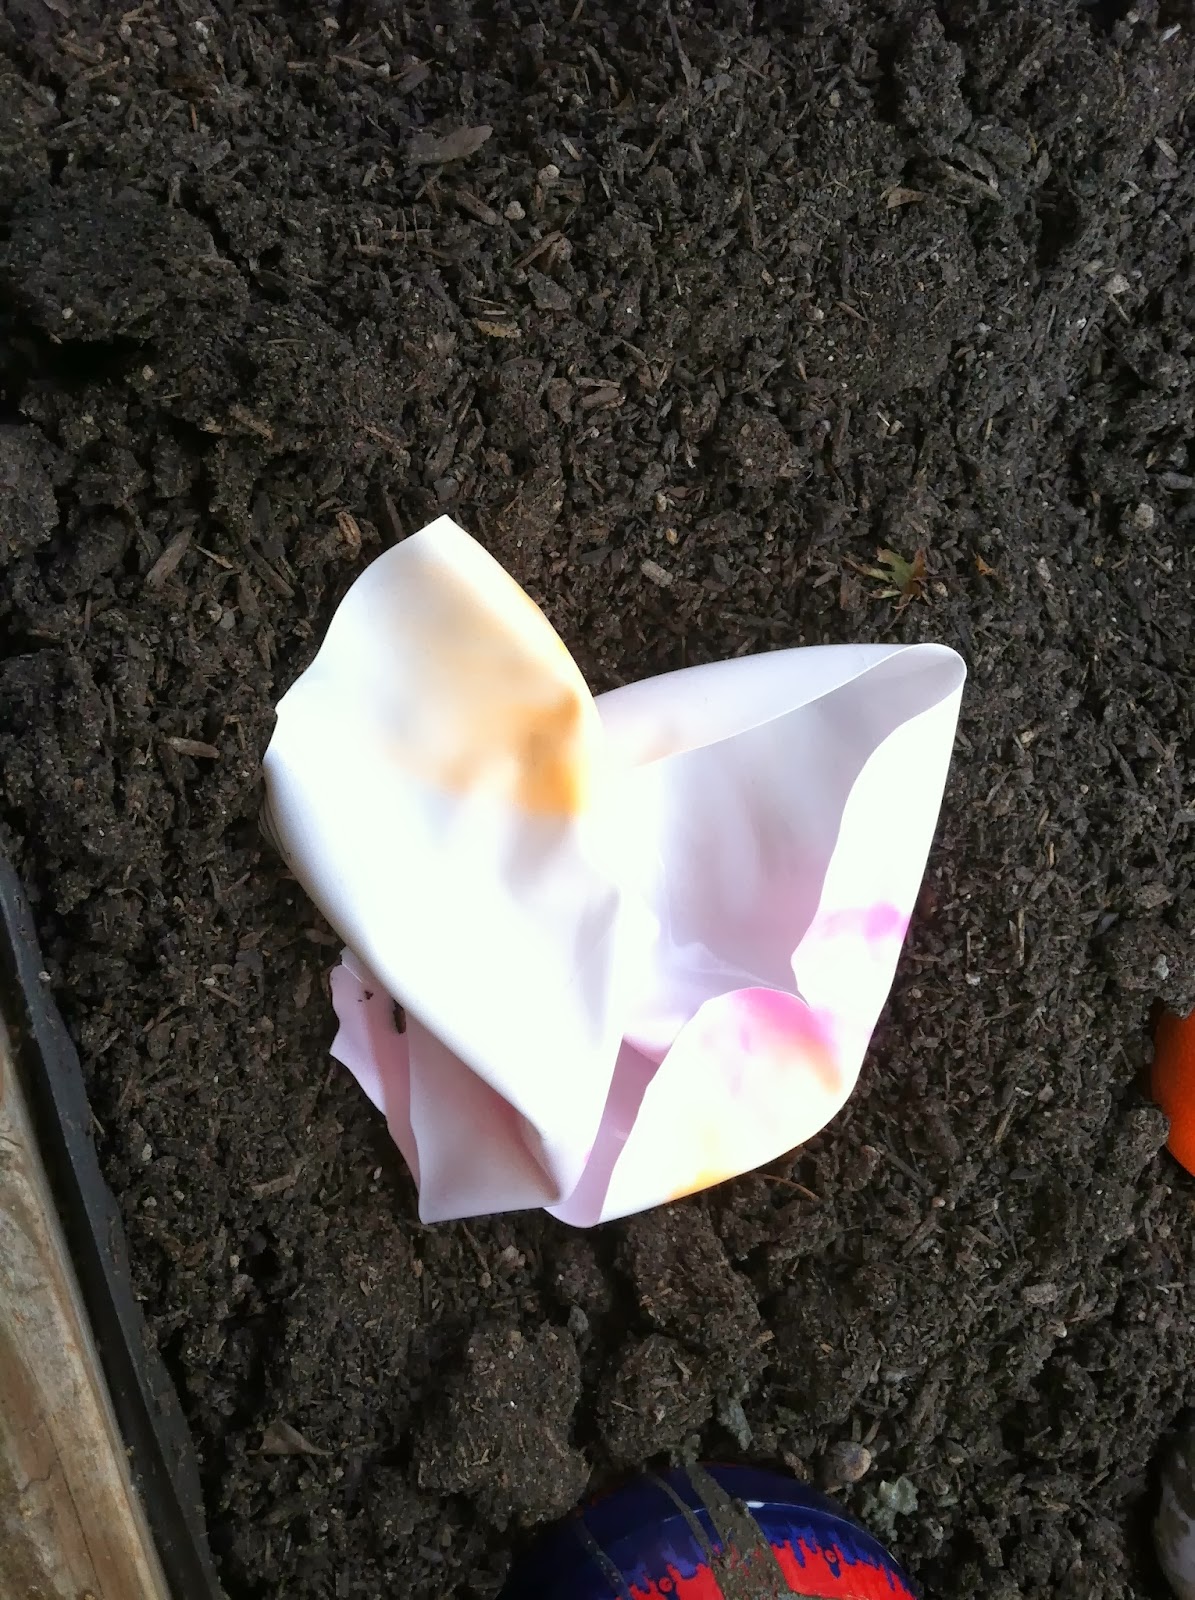
It POPPED!!!!!  We didn't see THAT one coming, although I guess we should have.  So, we just wore them as hats for a while.  (Ignore my little mustache--I didn't realize my face was filthy)
I went home and Jack found some basketballs, so I took these over the next time and we filled them.  By this time, Ken (whom I call our Pinterest Sister) was getting tired of our "dainty" handling of the concrete and he got in there to help.
After everything sat for a long time (a week?), we used a utility knife to cut the outer covering and peel it off.  Some turned out a little lopsided and lumpy, like a man with a bald head who shouldn't HAVE a bald head...if you know what I mean.  This probably wouldn't have happened if we would have used sand as a resting place, rather than potting soil, but overall they are great.  They have little knobs where we filled them, but these go on the underside when used in the garden. 
 
My particular favorites are the two that were made in the basketballs.  You can definitely tell they are basketballs!  That works out perfectly for Jackson's garden. 
By the way, we didn't even use 1/2 of the quikrete.  My next post will be Jackson's garden, and you'll see all the orbs, sitting proudly in their garden homes.

Saturday, August 3, 2013

Hello? Do I have ink on my hands?

July Pinterest Day.  Since Melissa and I have both fairly recently dipped our toes in the iPhone pool, she decided it would be a great idea to make iPhone covers.  As usual, we gathered all the materials:


You'll notice those beautiful black and silver FANCY Sharpies on the right.  The package told us that they were the right ones to use because they wouldn't smear.  WRONG!!!!!!  Do not use these:

We went about designing on the blank white cases.  We each had one hard-shell and one soft-shell (sort of like Maryland crabs).  Here is Melissa, diligently creating.  I don't think the tip of her tongue is sticking out as it often does when she draws.  I love that about her.


And here are our finished products! 
Melissa's (LOVE hers...):
and mine (just ehh...):

But, while we were working, I made some earring sets for a silent auction fundraiser we were having that night.  I like them.  I thought my presentation was quite cute.  Just a couple of blank notecards.


Now I know you are wondering about the title of this post.  Well....APPARENTLY even the regular sharpie rubs off a little.  I've been scared to try mine out after Melissa told me, days later, that she had to use some clear coat on hers to keep it from rubbing off.  Bummer.  I often talk while walking.  I can just picture myself with ink all over the side of my face!  Oh, the looks I'd get.  I may try to spray mine as well.  BUT, as USUAL, we had fun and learned a lot.  Stay tuned....August is CONCRETE GARDEN ORBS.  Oye.  


Friday, July 5, 2013

Memory Pinterest Day

Melissa and I met in June for our Pinterest Day (little late posting here).  This is what we made:
 It is a perpetual diary.  It has little index cards behind each tab, with the date on them (no year)...
Saw it on Pinterest (of course...) and loved it.  The idea is that you write down the year and then a line or two about what you are doing on that day.  After time has passed, you'll have an entry for each year and you can look back and see what was happening in your life over time.  If you want to see the original Pinterest post, click here.  Hers looks more "French Country" than ours, but we like ours!
 
Here's how we did it.  First, we gathered our supplies, including some old notecard boxes, pretty paper, adhesives, paper cutter, stamp pad, date stamp, index cards and photos.  Whew!
After cutting the index cards (4x6) in half (final measured 3" wide and 4" high), we took turns stamping the date on the cards.  You need a little backer paper, because you don't want the year to show, so you have to line up the stamp so only the month and day are on the card, with the year stamped off the card, on the backer paper--ours also had "rec'd" behind the date on the stamp we had.
Whomever wasn't stamping cards was trimming their photos and gluing them to a background.  Melissa choose to glue hers to cardstock.  She chose family photos.  I chose some vacation pics (that first photo is pottery in Pompei) and glued them to paint chips.

We were already tired when March came around...

But we persevered!  We felt like this was one of our more successful days!  We went out and got some lunch, enjoyed the day, and came home with a finished product...well, almost.  I think I am going to add the names of the months to my dividers.  Melissa wants to wait until the new year to begin hers.  I am starting a new job next week and think I will break it out in my new office.  Here, again, are our projects.  Love them!

Melissa's:
Suzan's:
Hooray for us!  We meet again on July 13th at Melissa's house.  See you then...wish us luck!